System Compatibility
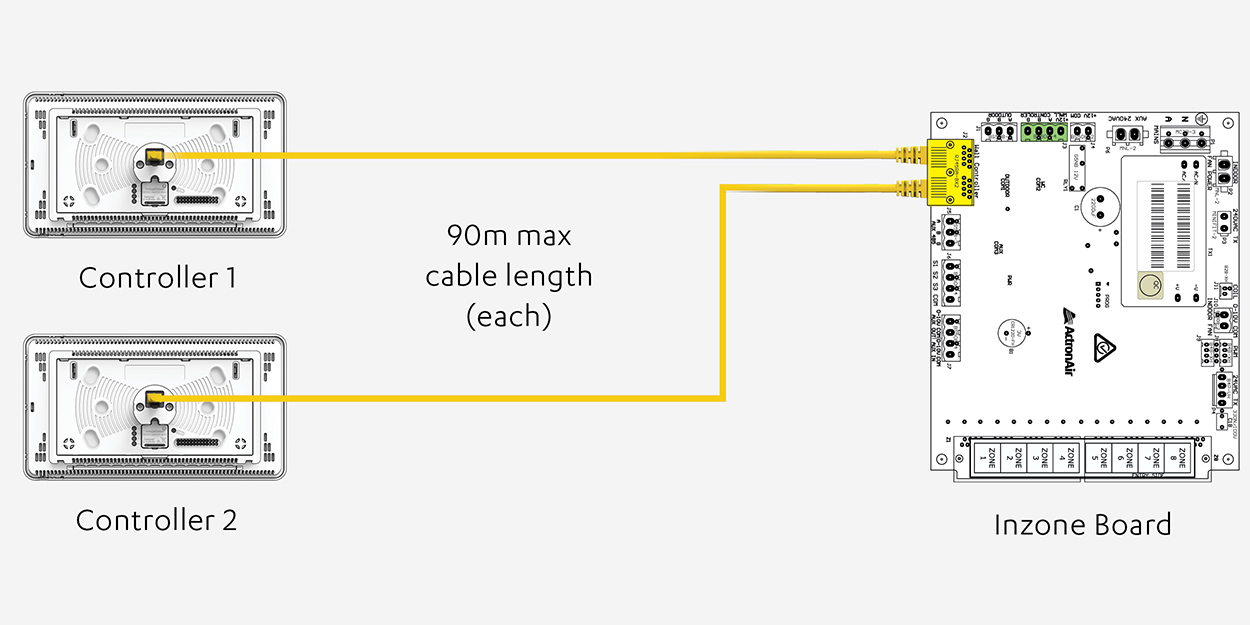
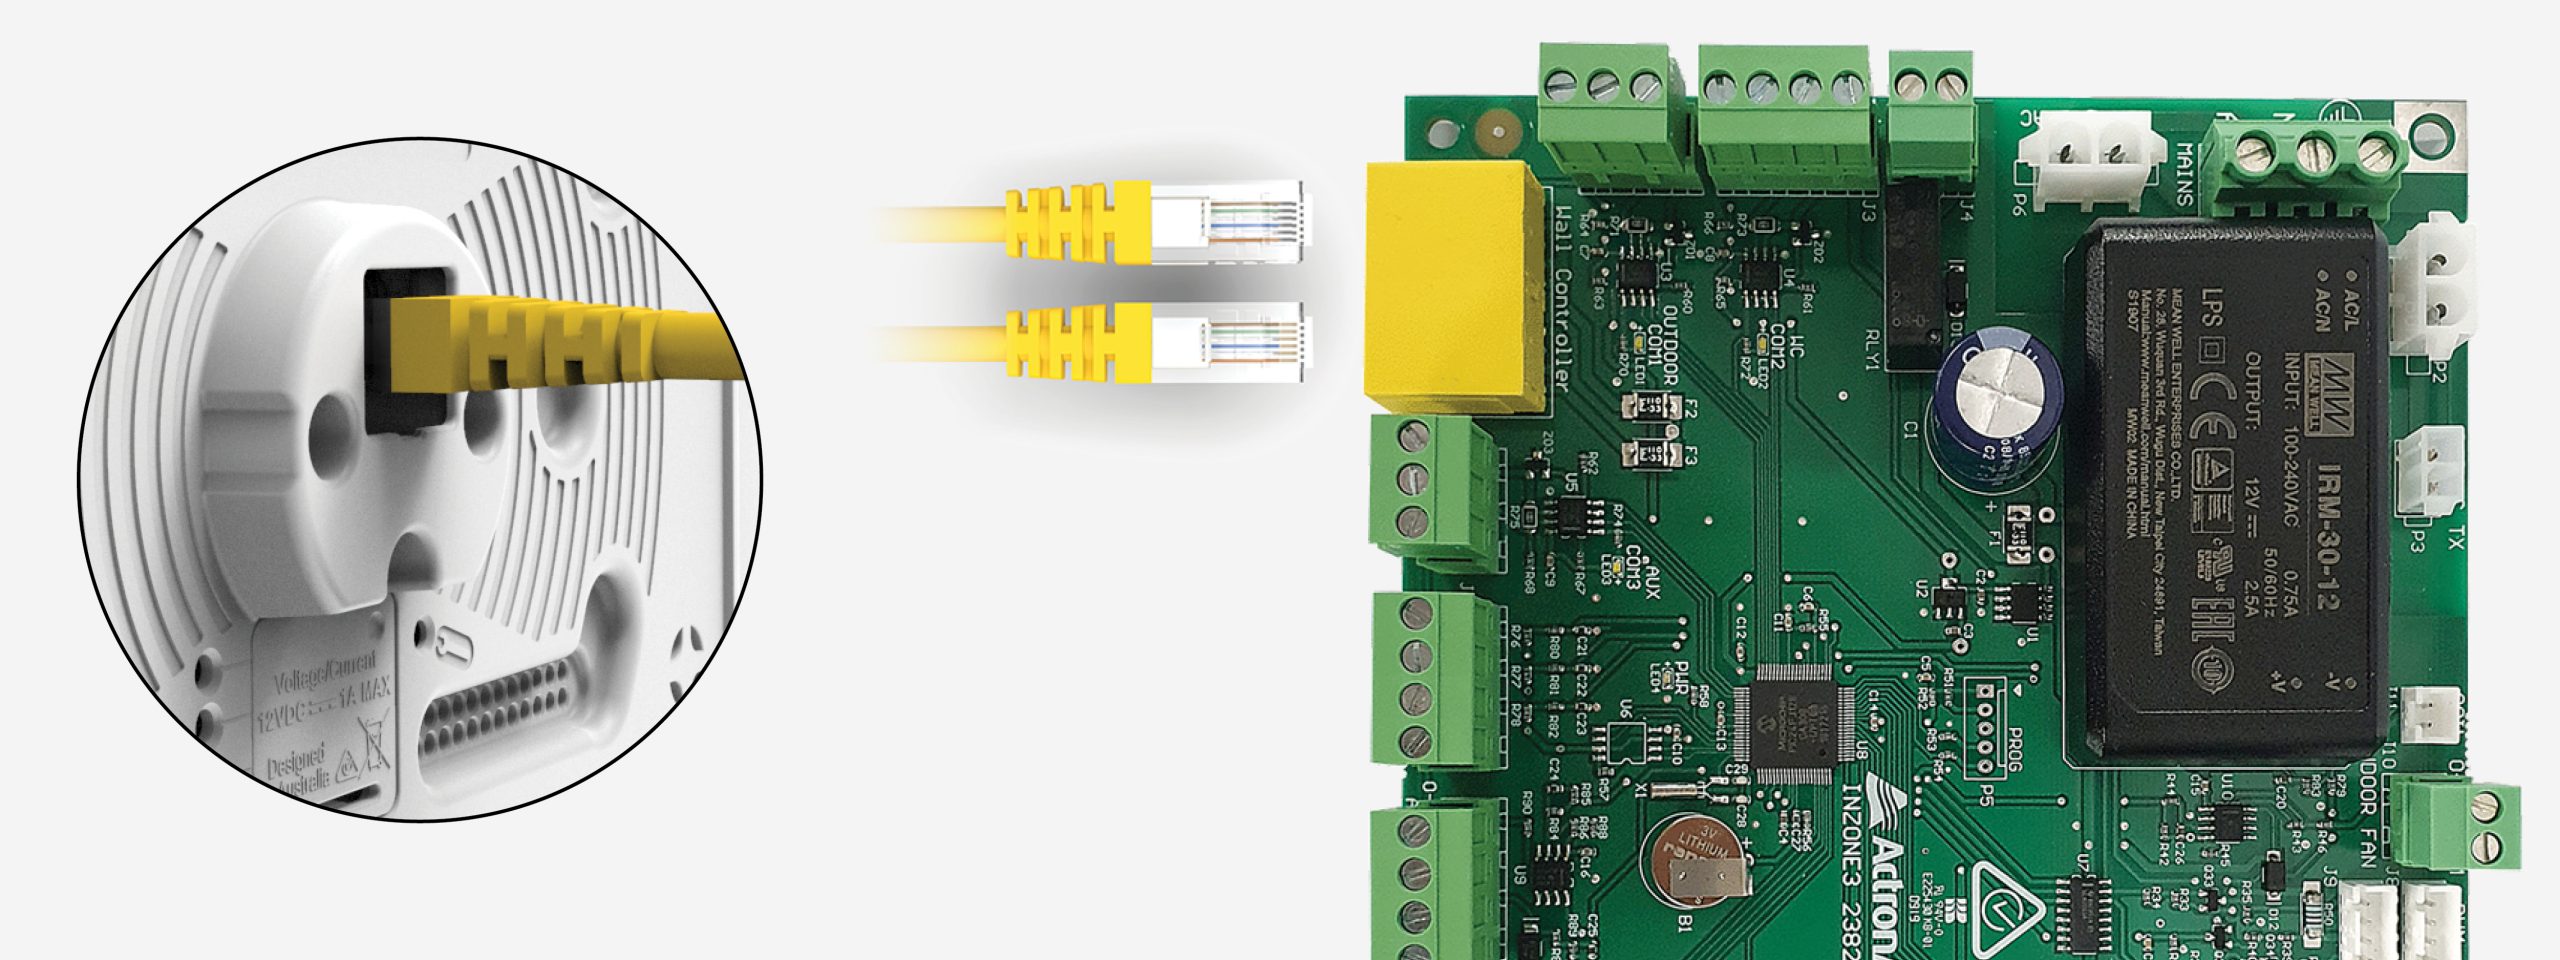
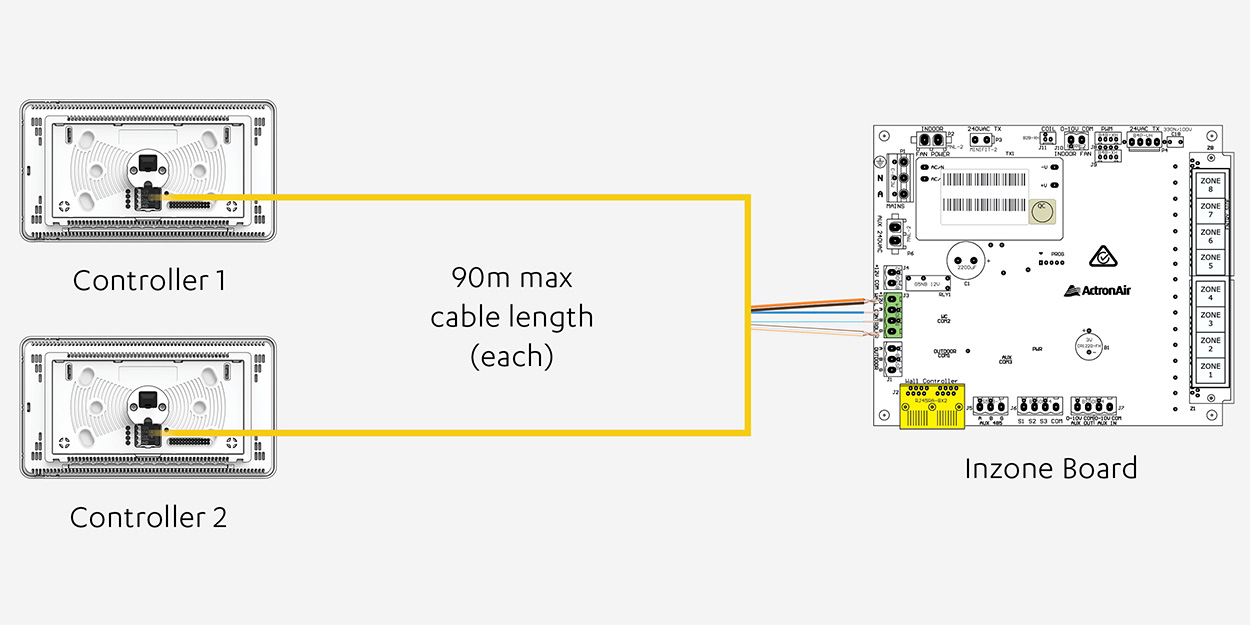
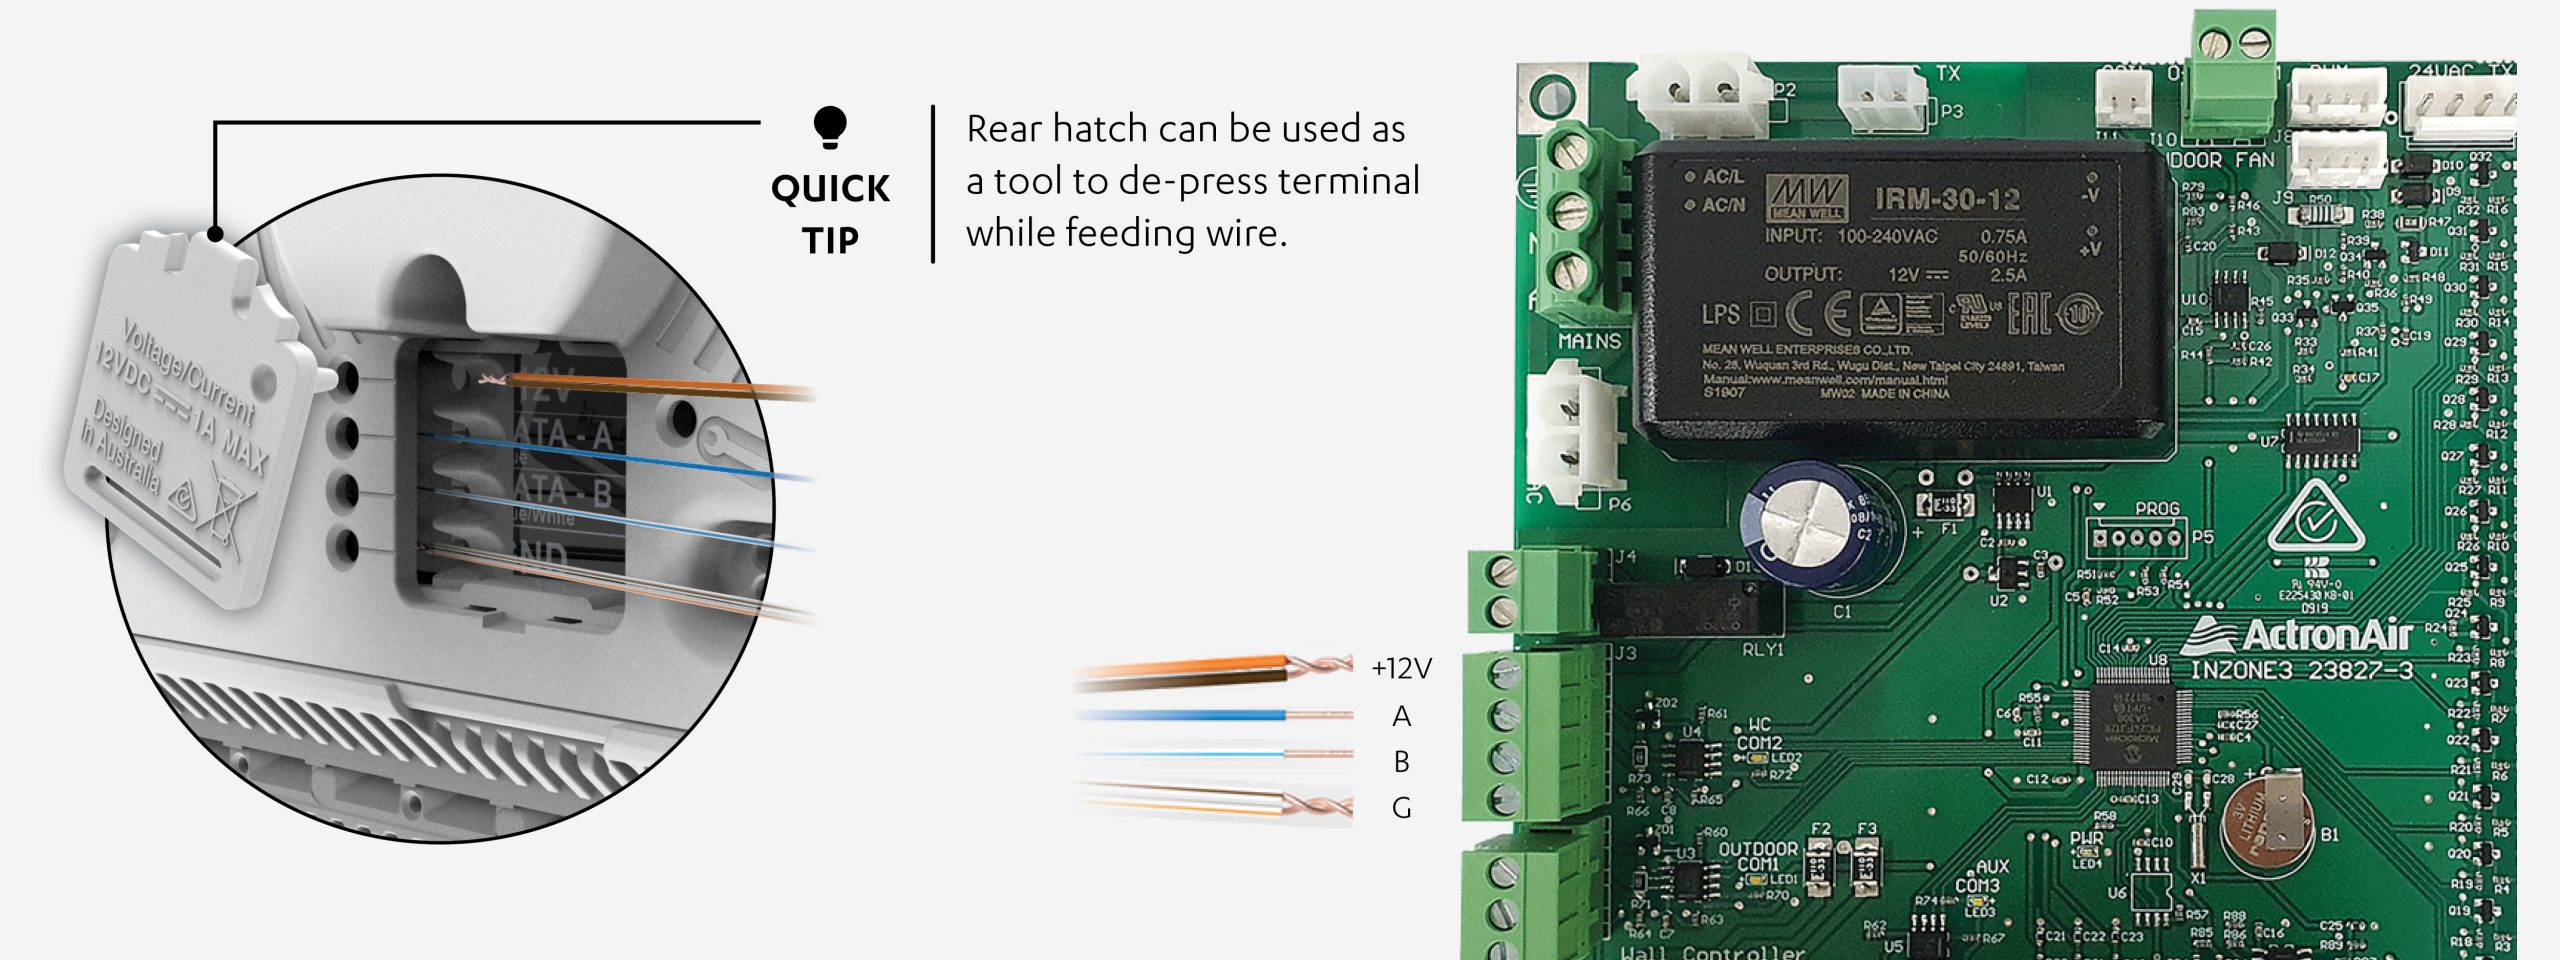
Wiring Options
Guided Commissioning Process


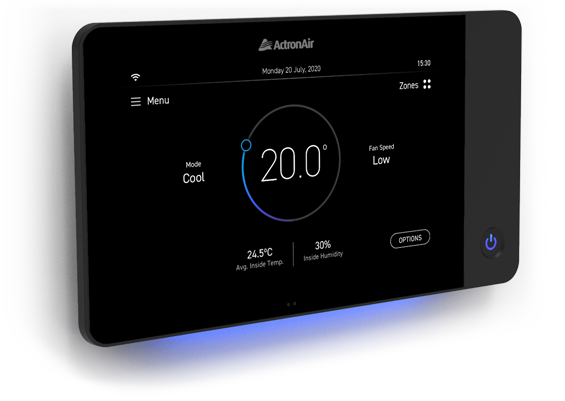
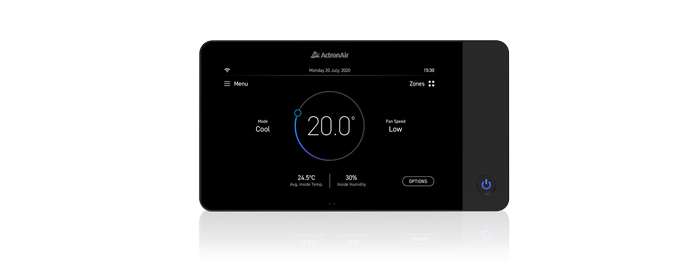
Dashboards

Over The Air Updates

Integrated Zoning
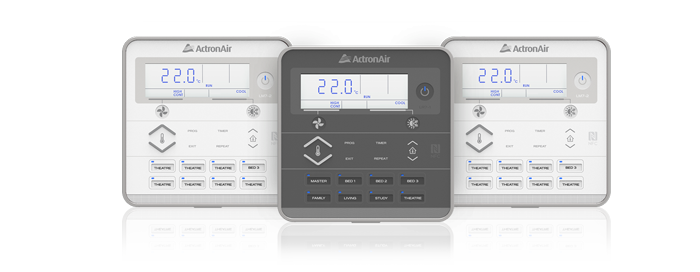
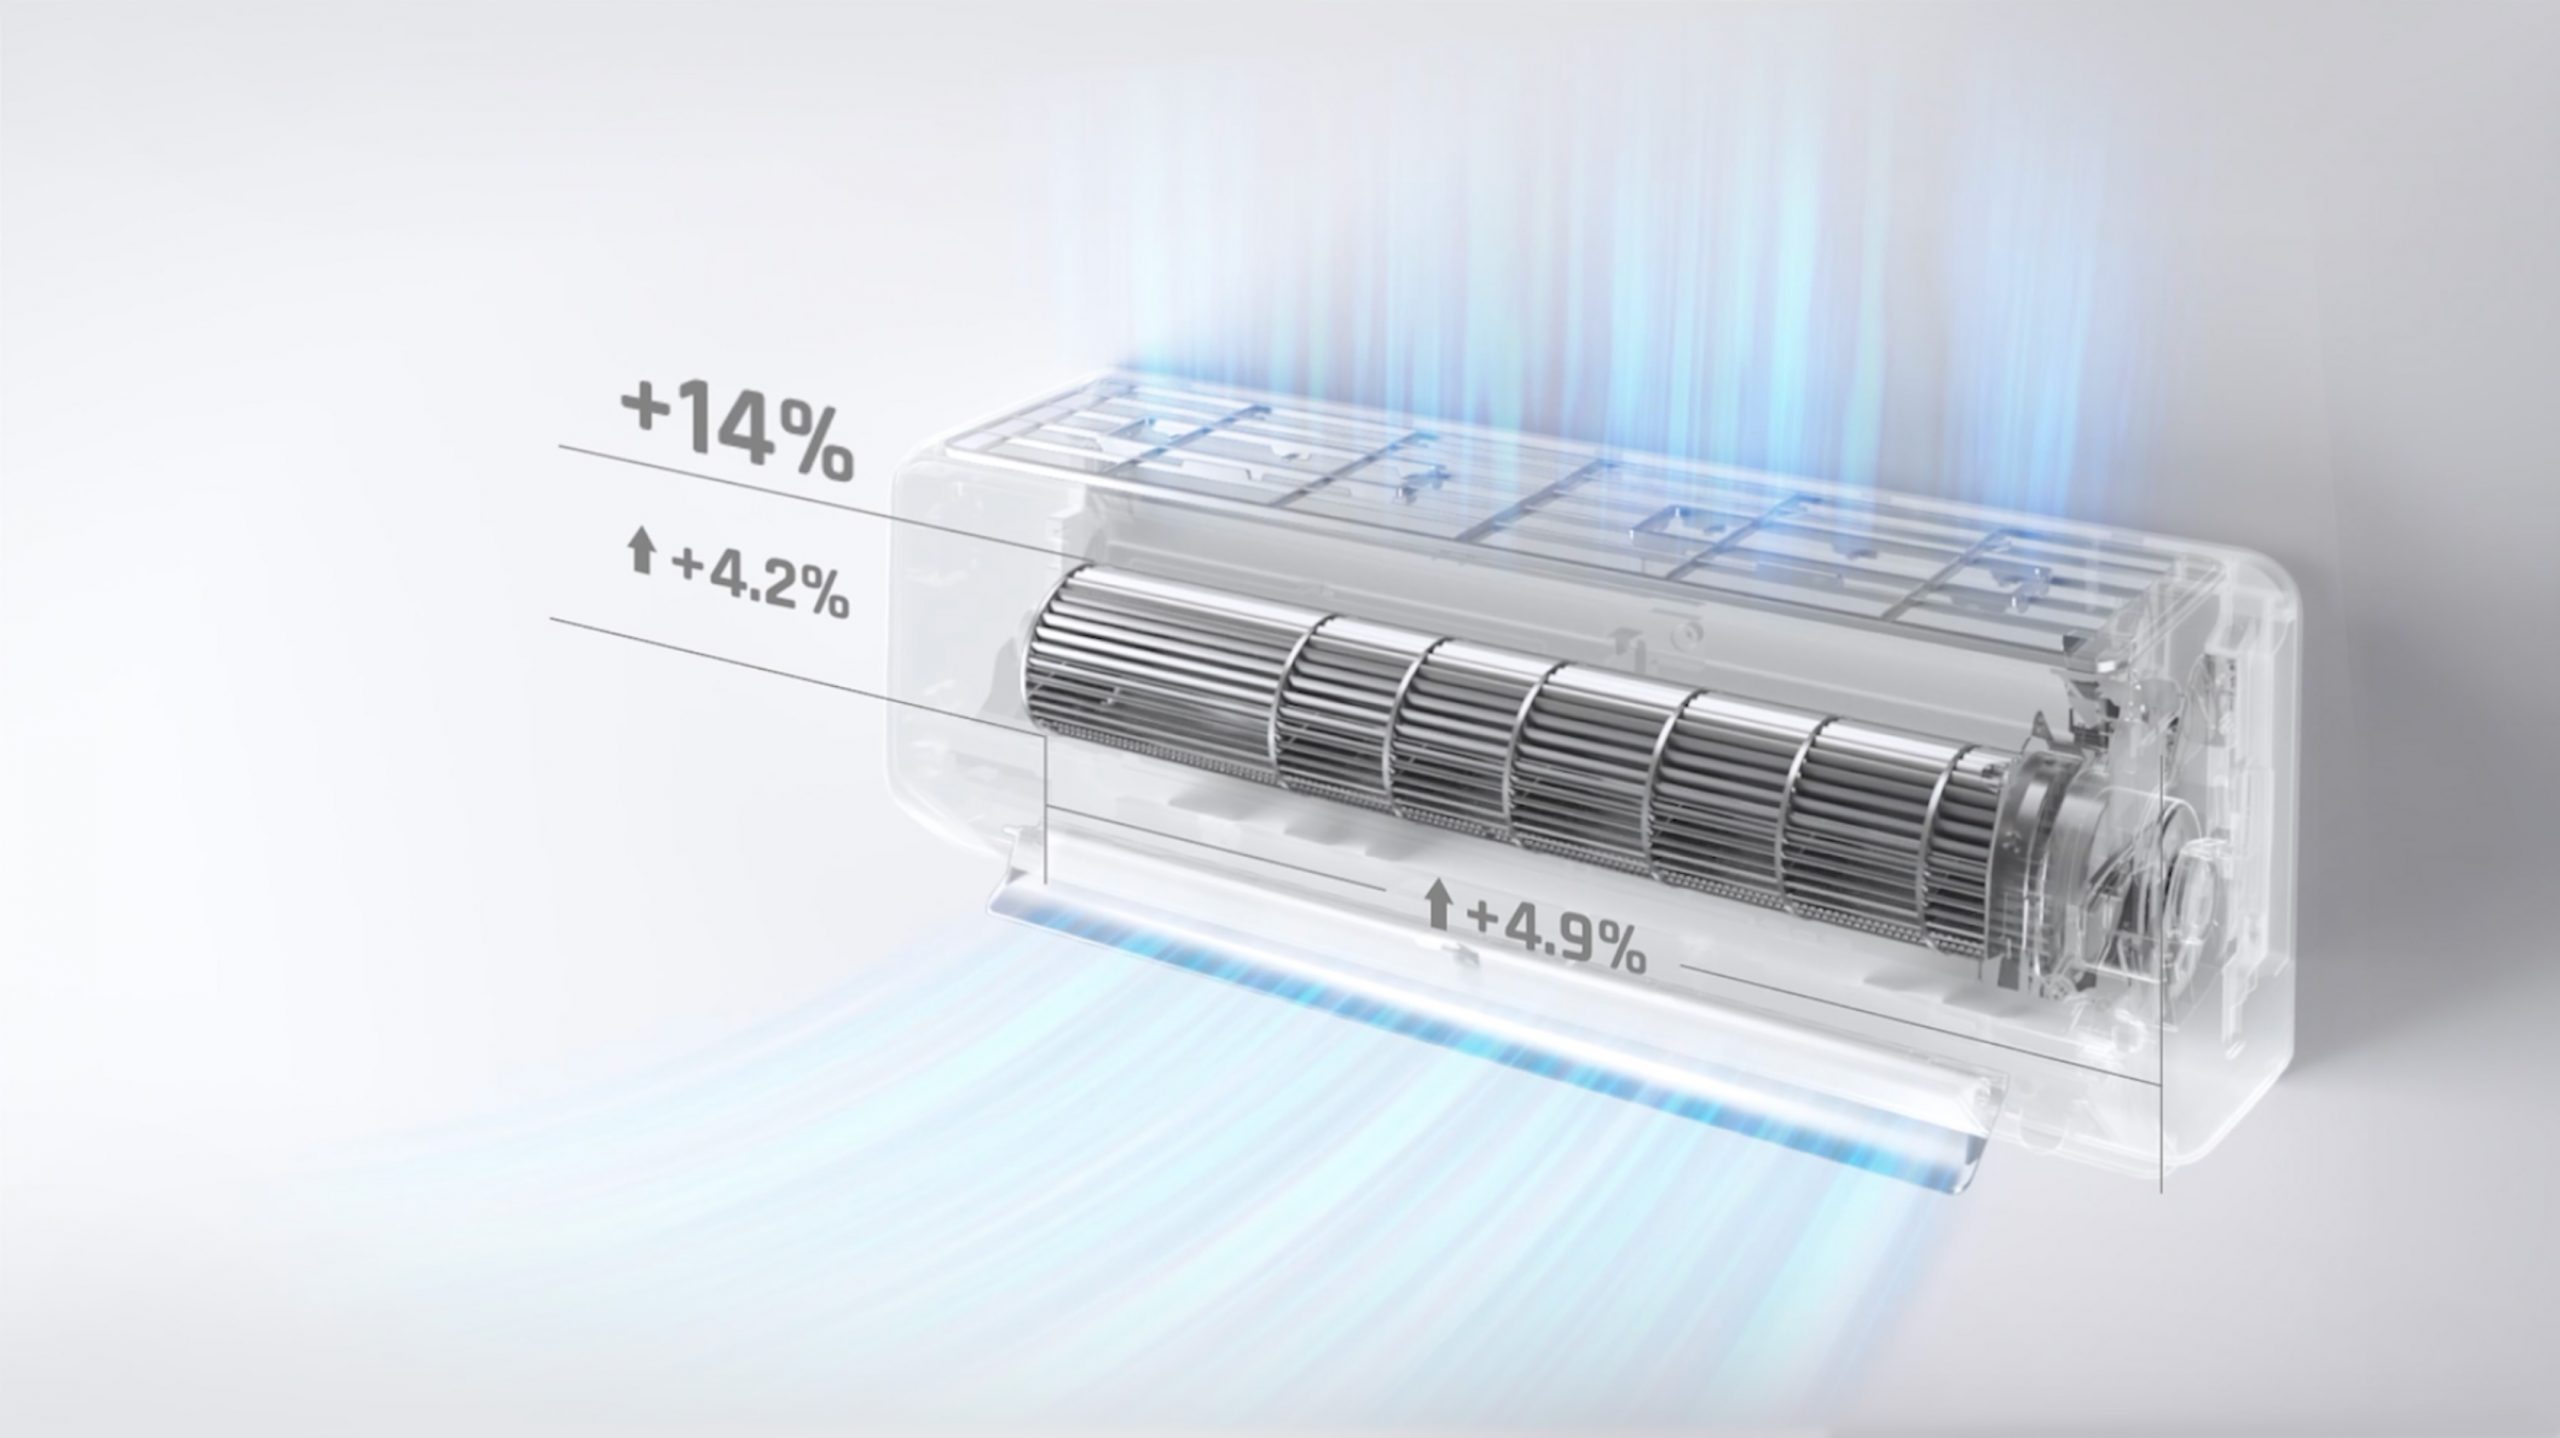
Variable Fan Technology & Self Learn Mode
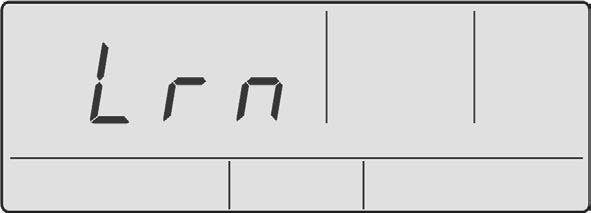
2. Press and hold the ![]() button and
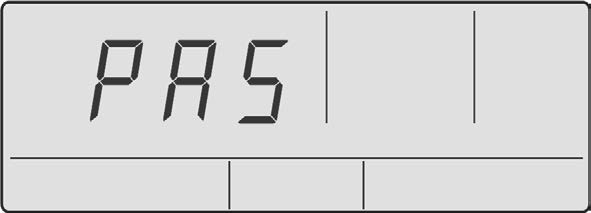
button and ![]() button for 5 seconds or until the word Lrn appears on the display and release.
button for 5 seconds or until the word Lrn appears on the display and release.
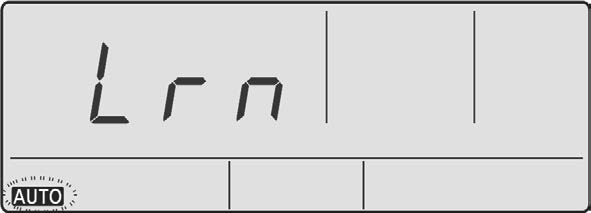
3. Press the![]() button once and release.
button once and release.
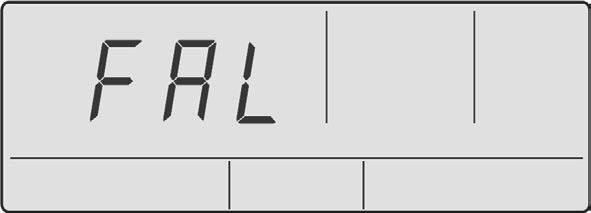
4. AUTO will flash on the controller display during programming of self-learn mode.
To return to Main Menu, press EXIT.
• To cancel Self-learn Mode, press ![]() button or EXIT.
button or EXIT.
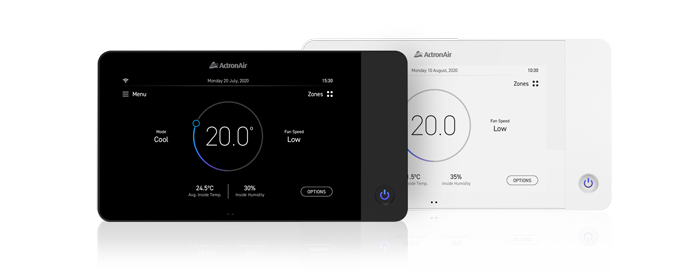
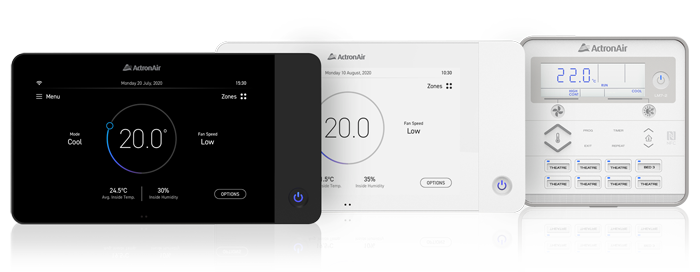
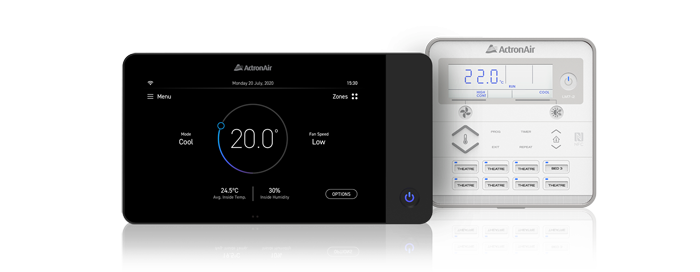
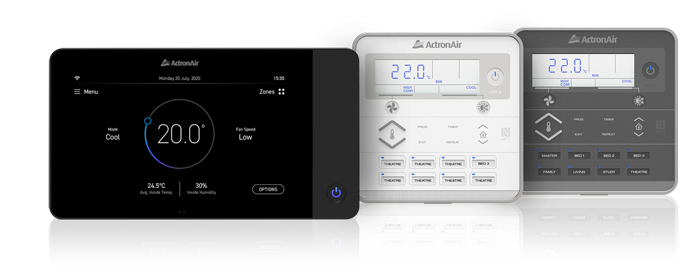
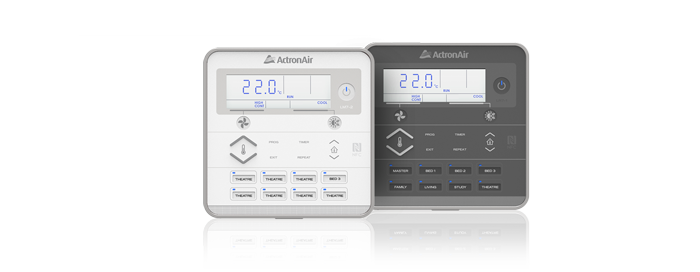
Controller Combinations


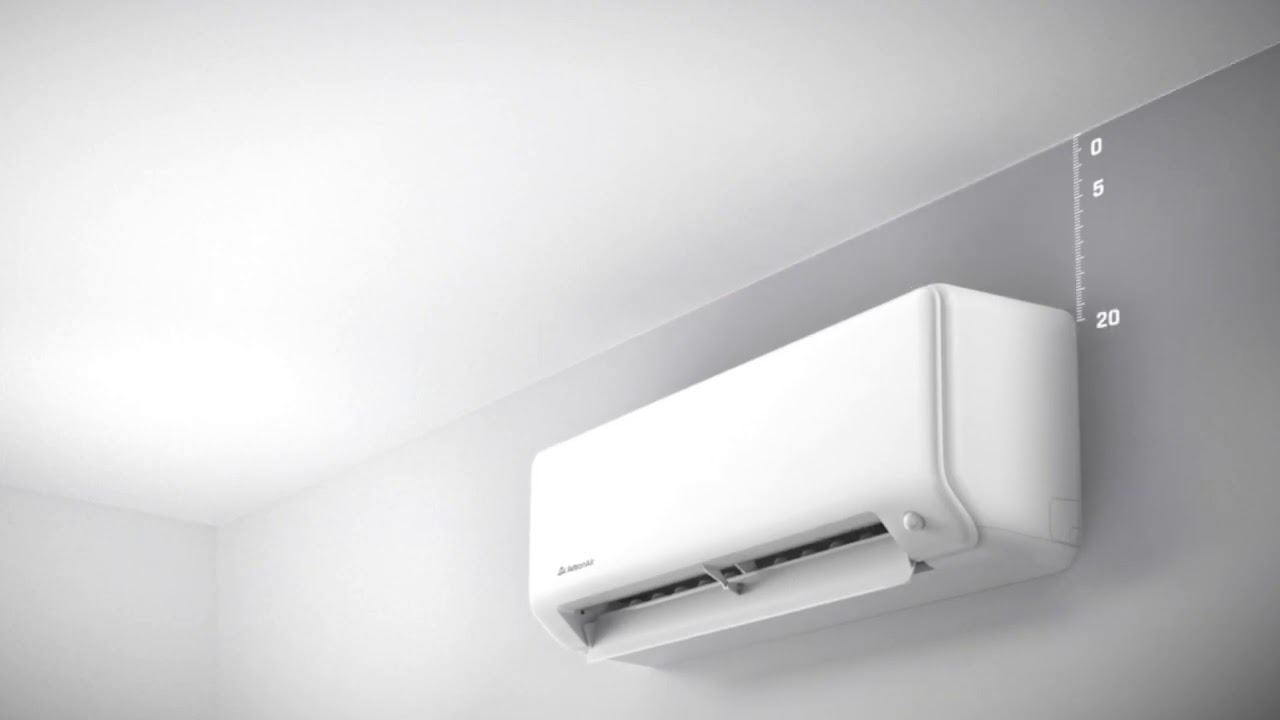
Introducing Serene Series 2
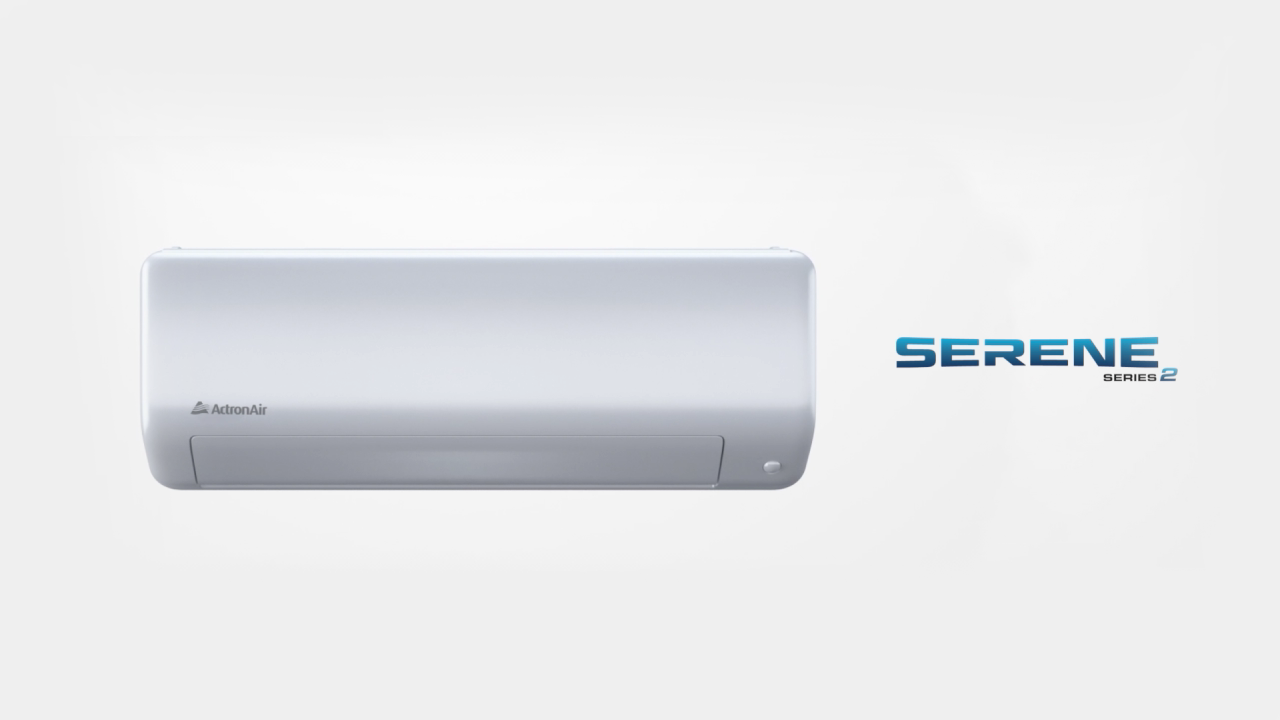
Smaller footprint. Better performance.
Designed for Easier Access
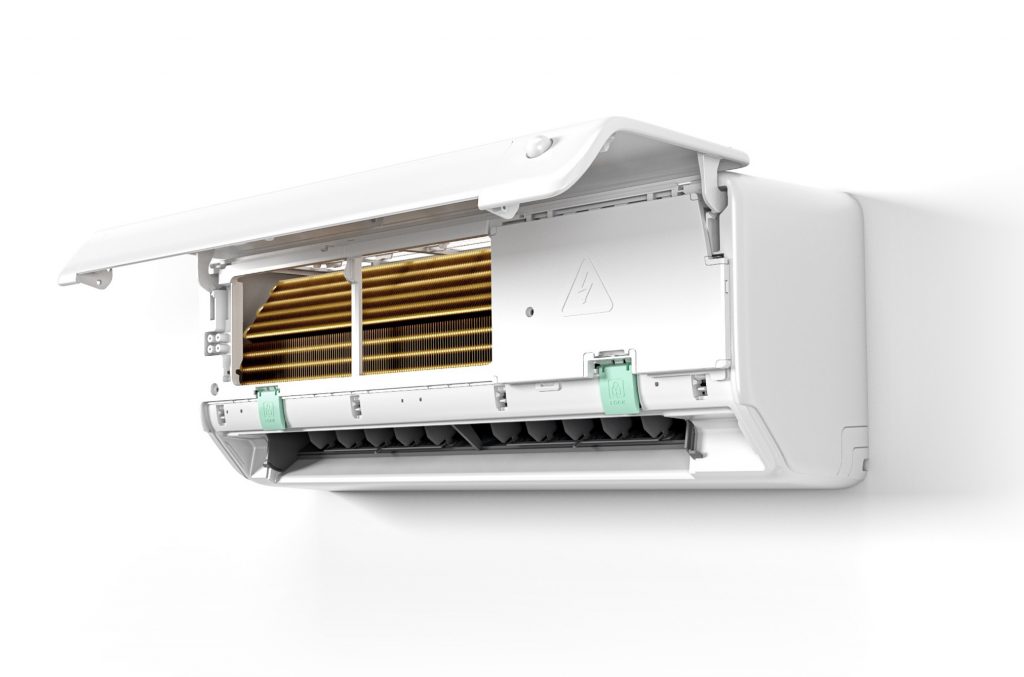
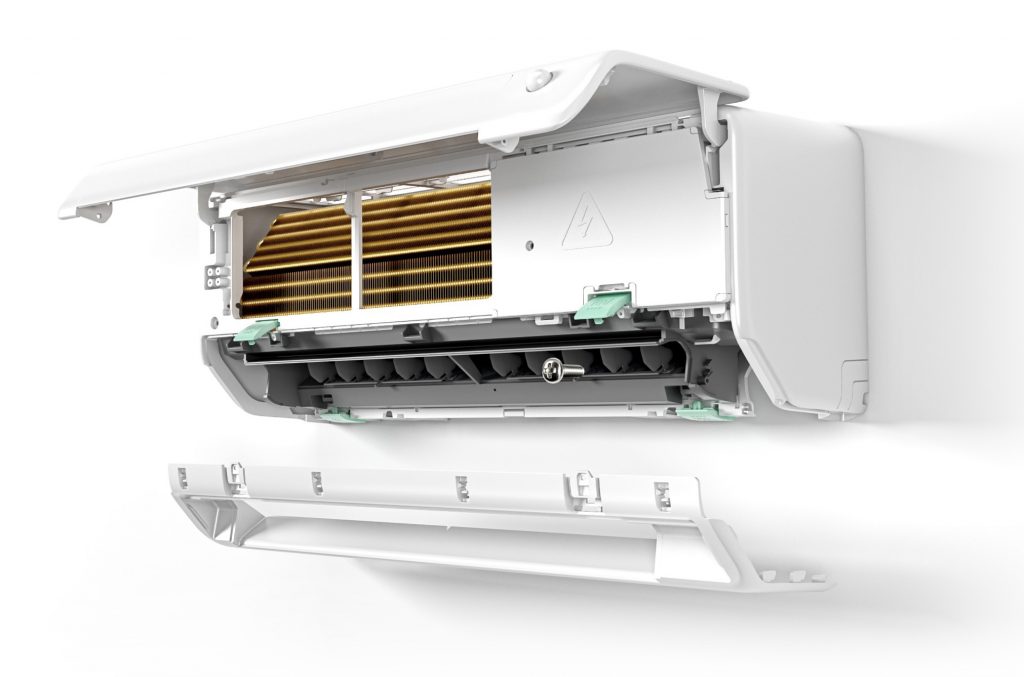
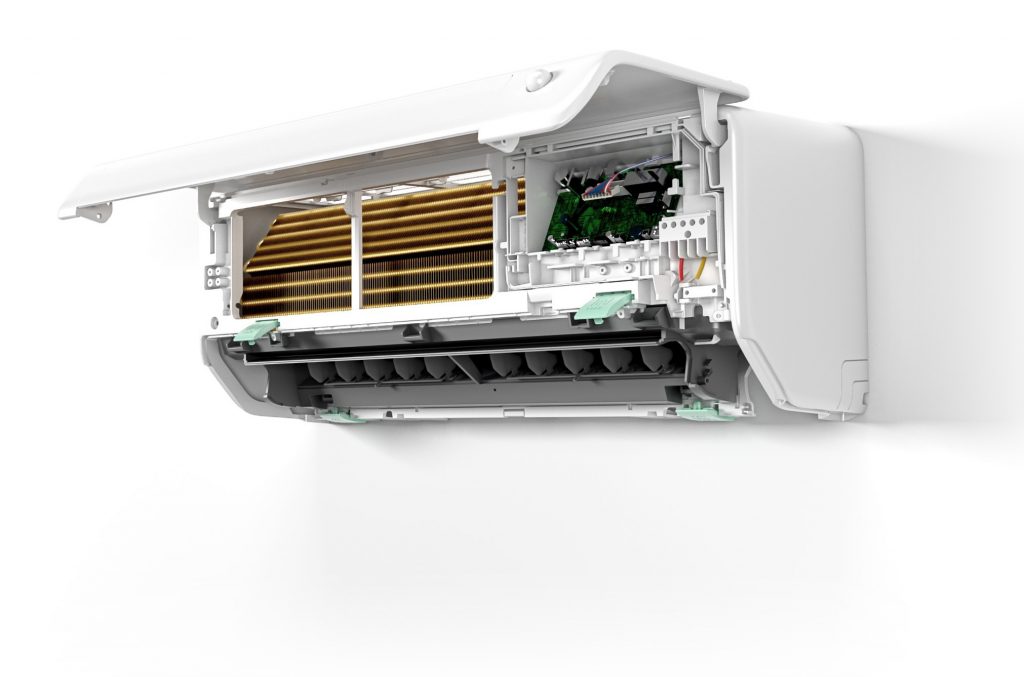
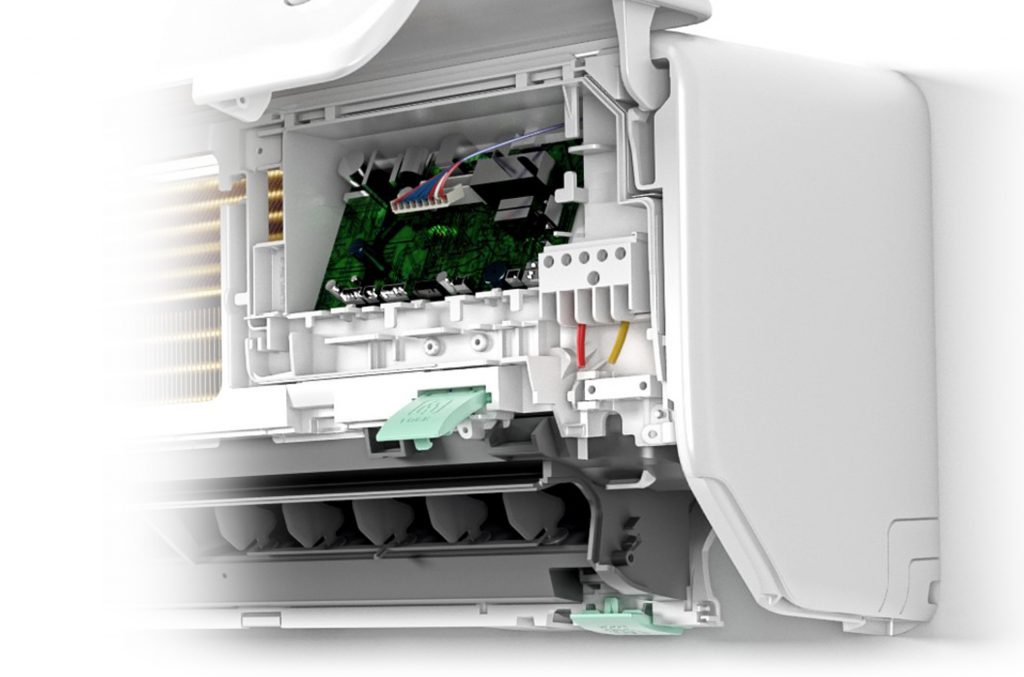
Better Installation and Flexibility
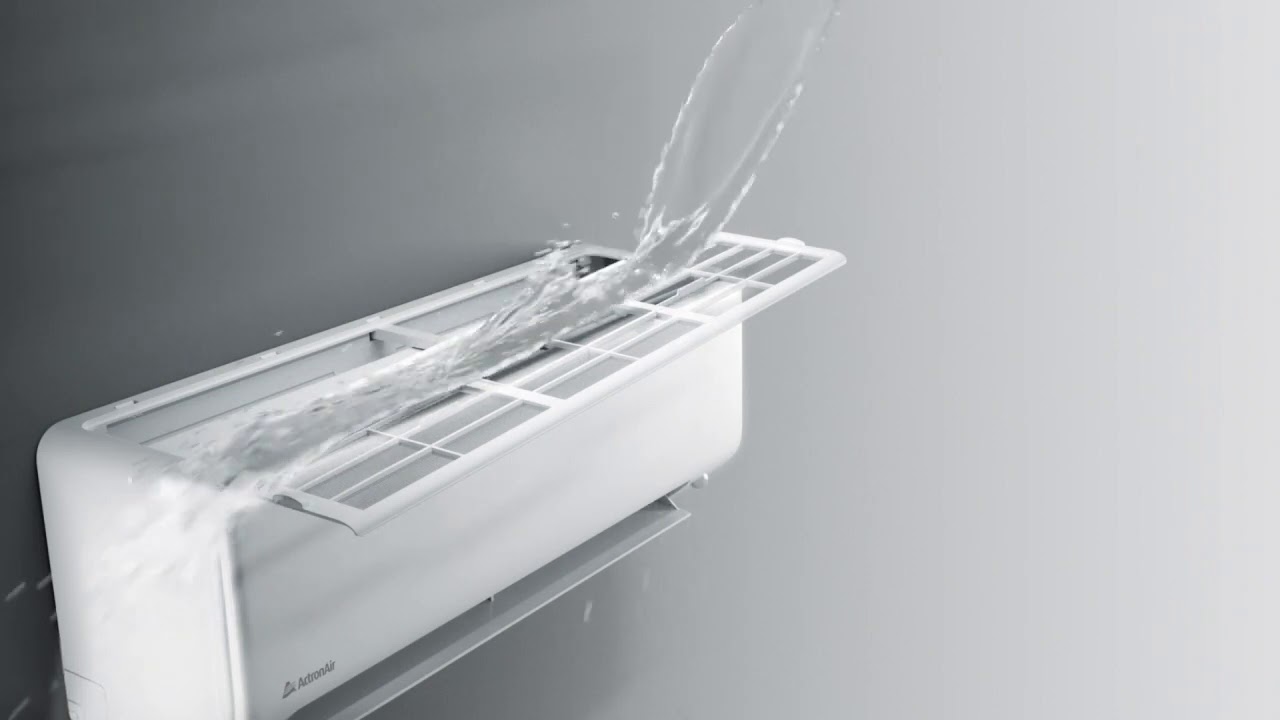
Easy Cleaning and Maintenance
R32 for Efficient Energy Performance